Monday, July 25, 2011

Orange Salad


A good day out shopping in the weekend, slightly disappointing lunch (they had just sold the last lamb brain before I ordered). But got home with some goodies, elderflower cordial, buffalo mozzarella, smoked salt, paprika and more vacuum bags.

I whipped up a quick salad for a light afternoon tea, and really wanted to taste the smoked salt. I tore up some of the mozzarella, sliced a little onion paper thin, supreme an orange, laid it out on the plate drizzled some olive oil and orange juice over it, and sprinkled over the smoked salt.

Went really well with my elderflower (vodka) & soda.


Saturday, July 23, 2011

Snack Attack


Late at night watching Anthony Bourdain chow down on some tasty food in Macau, gave me one serious case of the munchies, but nothing all that suitable in the pantry, farmhouse cheese-yep, tomatoes-yep, carb vessel to put them in my mouth-nope.

So cracker making time it was, and sped up by my recent purchase, the vacuum sealer.

The recipe is dead simple, I use this ratio
1 Cup Flour
80 ml Water
25 ml Oil/Fat
Salt & Pepper

Mix the flour and fat in a processor until forms a sand like crumb, then tip into a bowl and mix in the water a bit at a time until a firm dough forms.

Wrap the dough tightly and let it rest for about 60 minutes so the flour can hydrate. Or seal it in a vacuum machine and rest for about 10-15 minutes. (While it rests, heat the oven to 230°C).


Between two sheets of baking paper (or use a pasta machine) roll the dough out thinly and evenly. Score the rolled out dough, so it's easy to break apart when cooked, a pizza wheel is pretty good as it reduces drag on cut edges that happens with a knife.

Bake for about 10-15 minutes, keep an eye on it, as it goes from cooked perfectly to burnt mess pretty easy. Take out of the oven and cool on a rack.


The recipe is pretty adaptable, you could make a fat free version, or a no water version, or a cheese instead of fat version.

Friday, July 22, 2011

The pressure cooked shin


Pulled out the trusty pressure cooker for stewed beef shins.

Firstly, get you're vege ready, a fine dice of carrot, mushroom and onion, roughly chop some garlic. That's for the sauce.

Turn on the pressure cooker (mine's a plug in one), and set it to browning, brown your beef shins with a little olive oil until a nice golden crust forms. Then remove from pot.

Heap in your prepared vege and let them soften, then deglaze with a shot of brandy and once that has evaporated pour in about half a bottle of red wine, a couple of bay leaves, some thyme, pepper (salt at the end) and mustard. Reduce until you have about 1/3 of a cup of liquid left.

Once reduced put the beef back in, lock the lid and cook on high pressure for about 25 minutes.

While the meat is cooking cut up some mushrooms and carrots to bite size pieces, turn a few small potatoes and slice up some fresh herbs.


When 25 minutes is up, let the pot release its pressure naturally for 10 minutes then release it manually. Remove the beef and if needed reduce the liquid further.


Then add the new vege to the pot and cook on high pressure for 5 minutes and at the end release the pressure manually.

Thursday, July 21, 2011

24 hour bread


Butter chicken was the plan for dinner the other night, we had the thighs defrosting in the fridge and when we got home from work and pulled them out, they we're still frozen, bugger. And we had already whipped up a batch of dough to make flat breads with too.

So like all resourceful cooks, I suggested making a dal or vege curry, the other half insisted in ordering in curry, I lost.

At the end of the night cleaning up the take-away mess, we realised that we hadn't used our bread dough sitting on the bench. So there it sat for a full 24 hours, bubbling and fermenting away.

It finally got cooked last night, turned into a focaccia style bread, with thyme, salt and olive oil drizzled over it. turned out light, and tasty with a nice sour bite from the extra long fermentation.


Monday, July 18, 2011

Sirloin and sun-choke


Sirloin marinating with garlic, bay leaf and lemon peel (in a vacuum bag, yay to new toys)


Served medium rare, with crushed potato and sunchoke (Jerusalem artichoke), sauteed green beans and finished with a Calvados sauce

Best steak for a long time, melted in the mouth and had a great taste, totally in love with the vacuum sealer.

Saturday, July 16, 2011

Vacuum Sealer


Well I finally bought one, a Food saver 4400, which seemed like an OK choice, the next model up cost $100 more, and had, as far as I could tell the same pump in it, just more buttons.

I got it home, and it has only the one option for vacuuming bags "vacuum and seal", which quite frankly I could get similar results with a zip-lock bag and sink full of water.

The other buttons on the machine are "canister" for connecting a hose from a nozzle on the machine to a proprietary canister sunbeam produce or a wine bottle. And "seal", which obviously seals bags.

I had a look into the next model up and they had a button called "pulse" which lets you control how hard or soft the vacuum on the bag is. That's what you pay $100 more for.

But I didn't want to give up on my purchase. I figured, the model I bought and the model above it were essentially the same machine just different programming (although, I think they probably use the same controller board and the model above has additional buttons, a lot like some brands of washing machines do).

Not wanting to open it up (as i could still probably return it and pay the extra $100 for the next model up), I thought about how the canister function would work, it sucks out air and doesn't stop until you release the button. Surely they're not going to cut of suction from the internal nozzles of the machine to use the external nozzle, more moving parts cost more.

So I chucked in a bag, hit the canister button, and what do you know it started pulling air out of the bag. So for a $100 less I get the same functions as the next model up, just from a slightly different approach. And I get as hard or soft of a vacuum as I want on the bag.

Tuesday, July 12, 2011

Chicken in cream sauce, and a couple extras


Sometimes you can't be bothered trying too hard for dinner. Tasty bacon, farm house cheese, rocket, onion and mustard in a hot toasted bun.


Mint Julep, oh so tasty


Some chicken stock with mushroom stalks and peel simmering to extract the mushroom goodness


Mixture of shallots, diced mushroom, carrot and herbs sweating down


Browned chicken added to the mix and topped up with some of the mushroom stock


The liquid was reduced and finished with some cream to make a sauce. Served on top of crushed potato and celeriac and smothered in rich creamy goodness.

Friday, July 8, 2011

photos


Recipe found in a 1970s preserving cookbook, I cant read it tho!


Bed of veg for some pork shoulder


Pork Shoulder, scored and ready for the oven (it got the tinfoil treatment, see here)


Layers of potato, fennel, and shallots repeated and then topped with stock and baked.

Saturday, July 2, 2011

Photo post part 2

Roasted Chicken drumsticks with fennel/potato salad and glazed carrots

Sliced fennel

There are heaps of photos in this post so you'll have to click continue to see them all...

Thursday, June 23, 2011

Round up with photos


Pork Shoulder with Braised cabbage

Braised cabbage:
Use a heavy pan, soften some sliced onions then add a grated apple (granny smith is good), a spoon of mustard, glug of wine, a couple juniper berries, enough cloves, salt and pepper & 1/2 of a cabbage shredded.
Cook on a low heat until soft.

Pork: score skin, oil and salt heavily, cook at 220-230°C for about 20 min to get the crackling going then down to about 160°C until internal temp is about 65°C (about 25 min per 500g).

Oven Thermometer
Recently got around to buying a thermometer for our oven, and found out that our oven is 20°C hotter than what we set it at! I always suspected it was hotter, but didn't realise by that much, on the plus side it can hit 270°C.

Pulled beef pitas
Rubbed spices over the beef and gave it a heavy sear in the pressure cooker and set it to high pressure and let it cook till tender and falling apart.

While it was cooking made up some Hummus (chickpeas, Lemon juice, garlic, a drop or two of sesame oil (as didn't have any tahini), olive oil, paprika, yoghurt and salt. Puree, add more yoghurt or oil if it's too thick, place in bowl, sprinkle paprika over it, drizzle with oil, and munch away with pitas)

And also made up some aioli to toss with some shredded cabbage, I make mine with a stick blender in a fairly tall narrow measuring jug (not much bigger than the foot of the blender). Put an egg yolk, garlic, mustard, lemon juice and dash of cider vinegar in the container, start blending and when it is pale yellow and increased in volume slowly start pouring in oil (a mix is nice, soy oil and olive just olive is too strong). once it is all blended check the seasoning and adjust with salt and lemon juice or vinegar.

We Toasted some pita's (bought not made, lazy) stuffed them with the shredded beef, hummus and slaw, and a spoon or 3 of jalapeno jam. Very tasty, and filling.
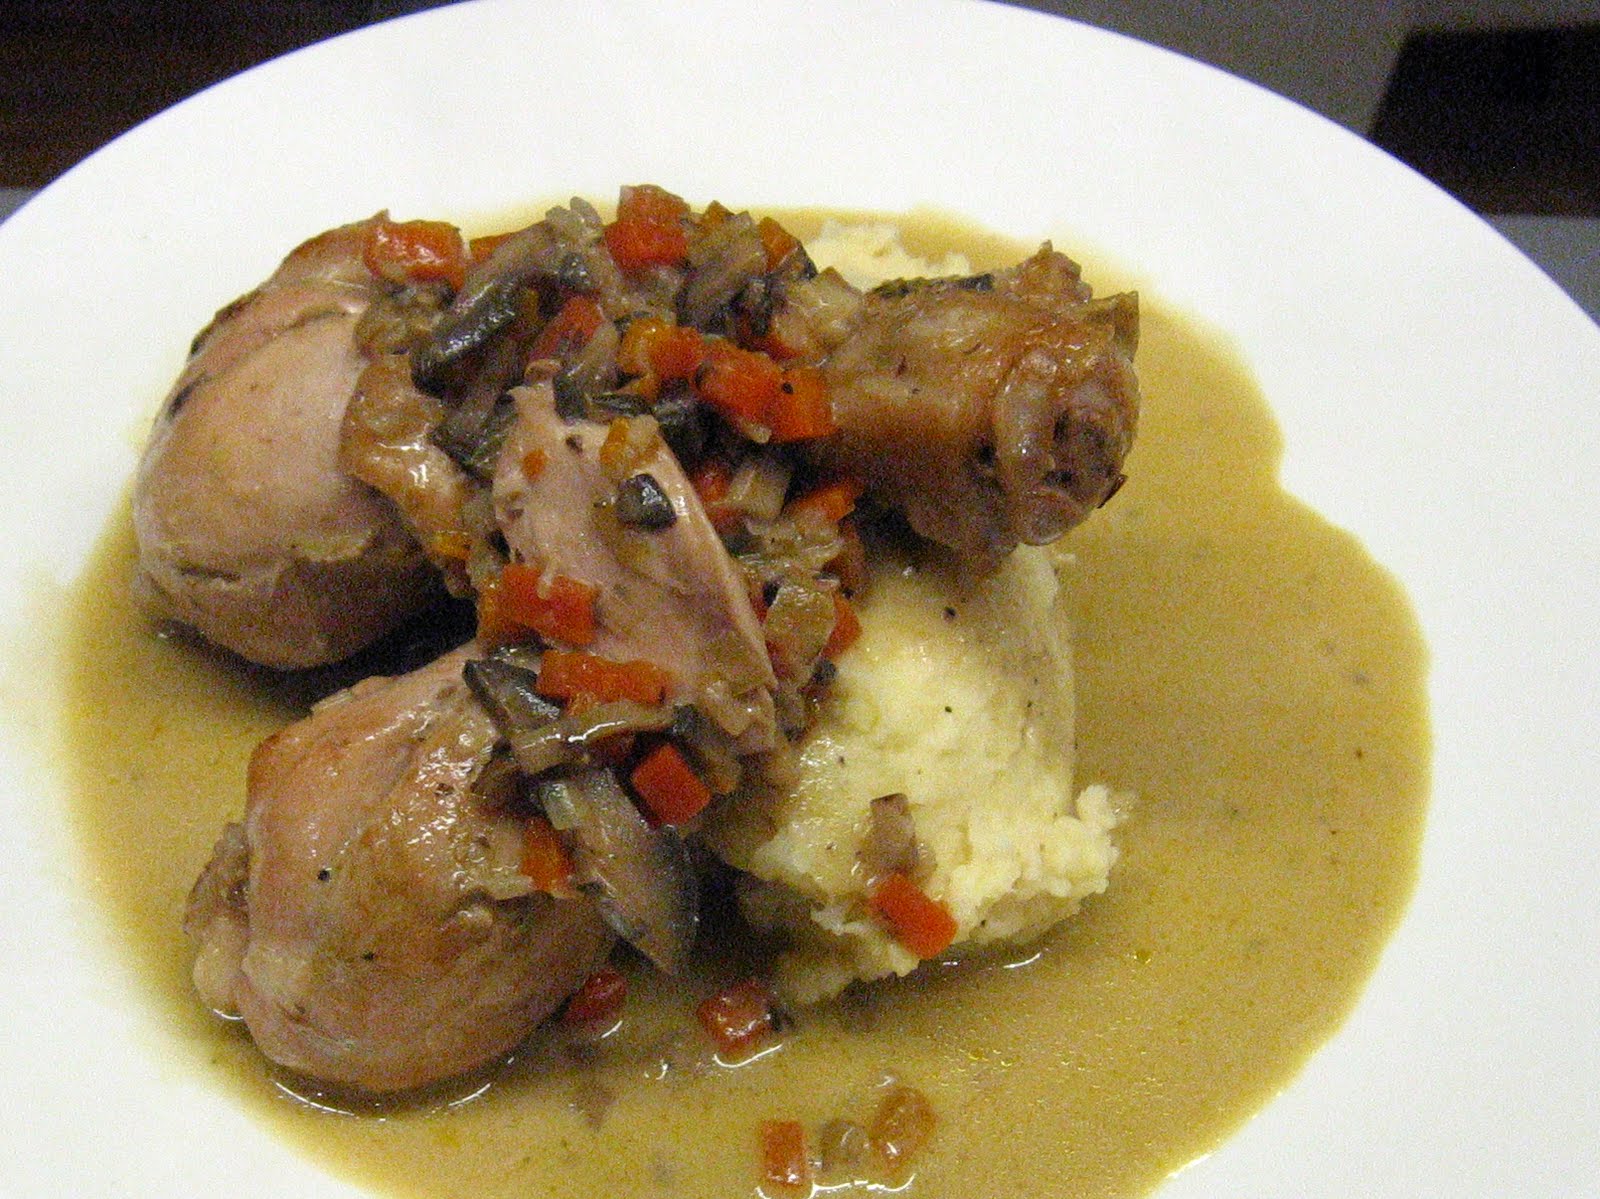
Pork Belly (AGAIN!!!!)
Well the pressure cooker has been getting a work out, and I'm trying to find the ultimate pork belly. So thought I'd try it in the new toy.

I cut a couple of onions in half and placed them cut side down in the pan starting to caramelize them, I also put in half a lemon to caramelize, after they had taken on a tasty brown colour I poured in a glass of wine, a dash of cider vinegar and some mustard and let that reduce to almost nothing.

The pork (scored and seasoned) was placed in the pan using the onions as a trivet, and then cooked on high pressure for about 45 minutes. After that time I took out the pork and let it sit until it was cool enough to handle.

Once the pork was cool enough, the bones were removed from the underside, and the bottom half was wrapped in foil with the skin still uncovered, the skin was then patted dry and a bit of salt gently rubbed in to it (it's very fragile when pressure cooked), the oven was set to 230°C on grill (broil) and the meat place slightly above the middle of the oven for about 20 minutes.

Well, it tasted great, and the crackling was perfect but there are problems, the main issue was the fat didn't render out, it was very soft and had the texture of very lightly set jelly, so was easy to scrape off. And the meat wasn't 100% melt in mouth, I think 5 more minutes in the pressure cooker would of solved that, or perhaps letting the pressure drop naturally.

I'm not sure why the fat didn't render out of the meat the temperature should be more than plenty for it to happen. I will have to investigate further because I like the idea of pork belly in an hour rather than my other method of slow cooking for 3-4 hours.
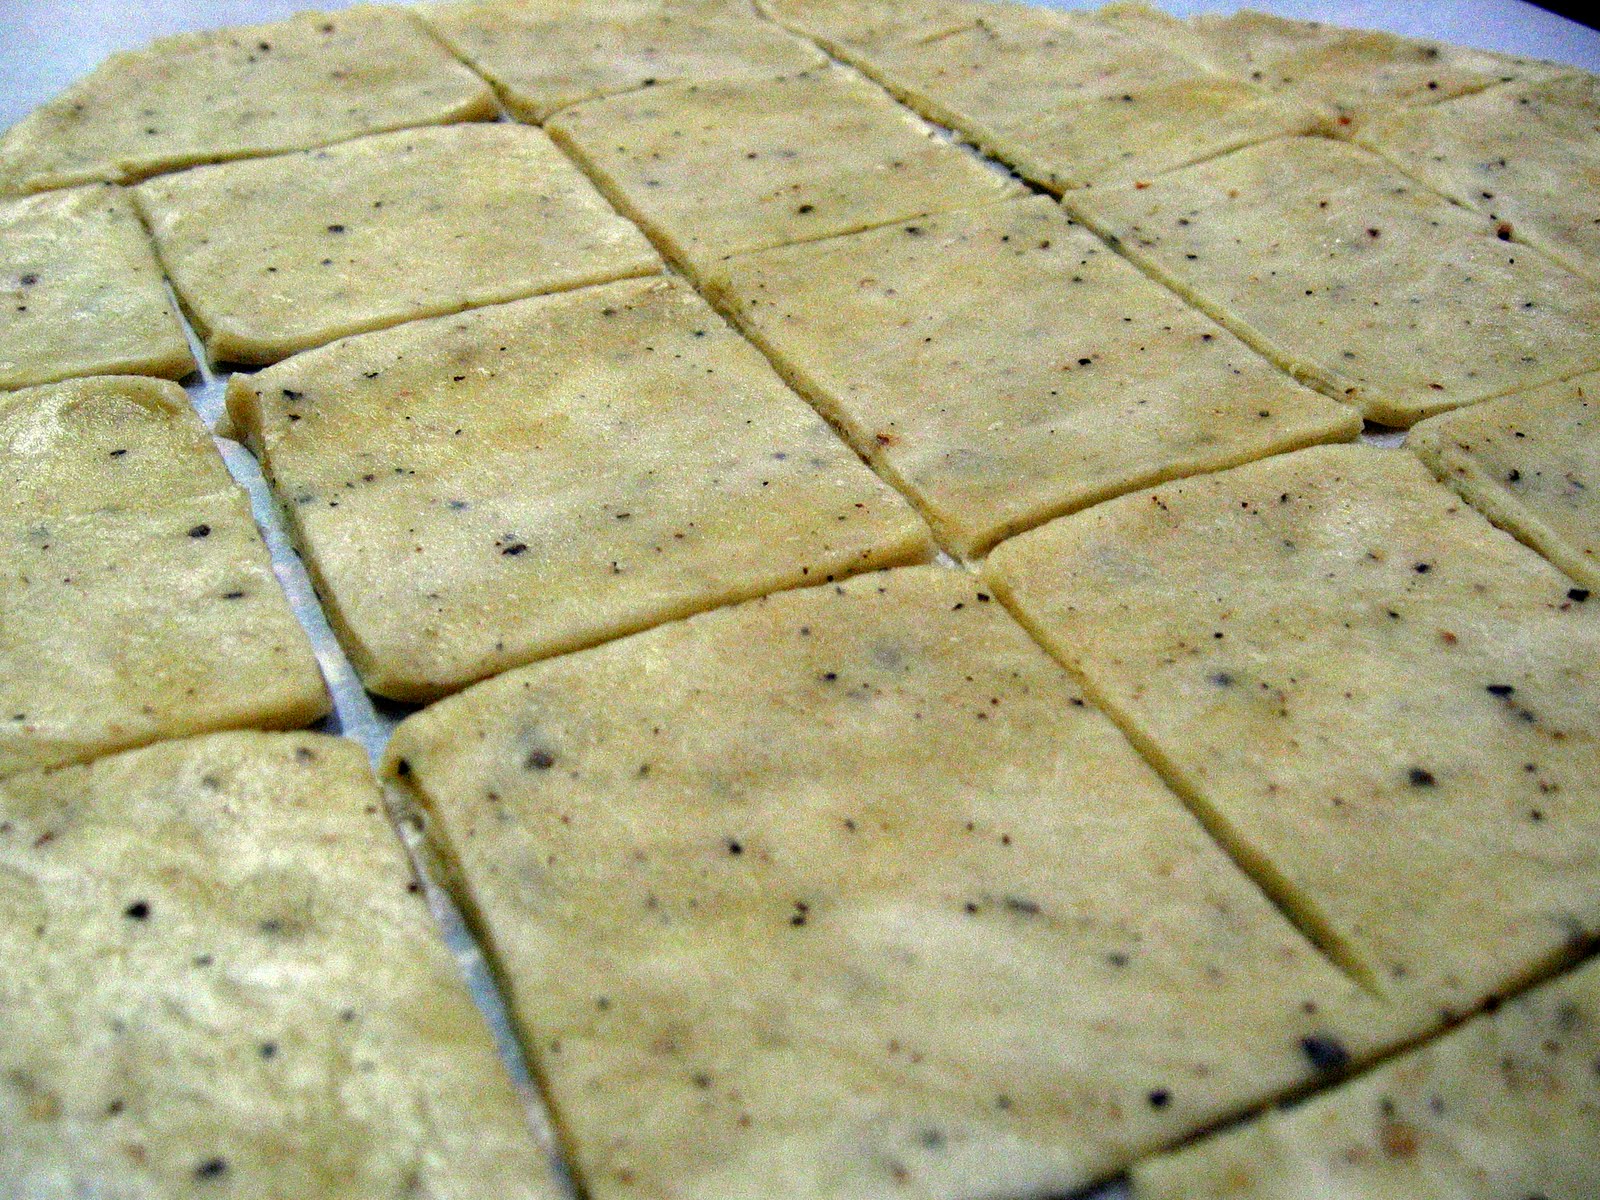
Things I have to try
I've found a great way to make some crackling at ideas in food and is something I have to try, but I need a dehydrator first. They basically pressure cook the skin in liquid to make a pork skin stock for other uses, then take out the skin, gently scrape the fat off and dehydrate, then deep fry.

Still have to try Stock, caramelized eggs, garlic in milk and egg bread in the pressure cooker,