Wednesday, April 18, 2012

Pork Cheek Bacon


The pork cheek that I made confit with, came with its twin, which I turned into that wonderful meat product called bacon. I used the same process as the previous bacon I posted about. I make a few alterations though, firstly, and the easiest way to change things, I used different herbs and spices in the cure, and I gave it coating of white pepper powder before I hung it, secondly, I wrapped it in cheesecloth when I hung it, and lastly, after smoking it, I pressed it overnight in the fridge.


Thyme, Muscovado sugar and Szechuan pepper. These get combined with the 5% curing mix.


Rinsed, and patted dry after seven days of curing in the fridge (flipping each day).


Dusted in white pepper.


Wrapped in cheesecloth and tied, ready to hang for seven days.


Unwrapped after a week under the stairs. You'll notice a little white fuzz on the pork, that's a small amount of mold, it's important to keep an eye out for it.


It doesn't mean you have to throw away your porky goodness, just wipe off the mold with a paper towel dampened with some vinegar. But if you leave the mold unchecked for too long, it can grow into the interior of the meat, making it inedible.


Smoked to an internal temperature of 65°C, the smoker shouldn't go above 85°C.


Pressed between to baking dishes overnight.


Sliced, portioned and packaged.

Note: Check the pork cheek for glands, if found, remove. If meat comes from a butcher/supermarket you shouldn't find any, but best to check.

Saturday, April 14, 2012

Pork Cheek Confit


Let me start out with the obvious, this dish is made with a lot of fat, heaps of it, that doesn’t mean it will make it to the plate though, it is just a means to a delicious end. I feel I should point out I’m not using a fashionable fat here either, I’m not talking about confiting in olive oil or duck fat, no I’m using good old fashioned very tasty and awesome lard. Come on, I’m confiting pork here, what did you expect me to use? Lard isn’t that bad, it has a bad rap more from bad memories and the jazzercise health police, rather than facts. You think duck fat roasted potatoes are a health food? Well no... But duck fat is a popular fat, so thoughts of ill health effects slip greasily to the back of the mind, Butter is fat du jour, and Olive oil will cure what ails you.

The fact of it is lard has less saturated fat than butter (12%) and less than half the cholesterol, yes lard is higher in calories (about 15–20%) but butter is about 15–18% water. Look anyway, I’m not advocating cooking with it everyday, I’m just saying it’s not as evil as it has been made out to be. It doesn’t deserve that scowl and revolted “You cooked that in lard!?”.

Now with that mini rant over and done with, I’ll start with another warning, this dish takes a while, about 12 hours curing, 12 hours cooking time, 12 hours pressing, and hey only about 20 minutes of final cooking, so if you’re on to it, you could cure overnight, get it in the oven in the morning, press and cool it in the evening, and cook it for dinner the next night. Start on a Friday evening, and eat on Sunday evening.


First off the cure, weigh your piece of meat, and calculate 2%, that’s how much salt you need. Mix rock or kosher salt, with some thyme and szechuan pepper. Coat the pork in the salt mix and place in a container (or ziplock bag) in the fridge overnight.


Preheat your oven to 90ºC, no that’s not a misprint. Melt enough lard to completely submerge the pork cheek in the casserole/dutch oven you’ll be using. While the lard is slowly melting, take the pork out of the fridge and rinse all the salt off it. Pat the pork dry, and place it in the casserole dish, scatter in some spices (I used star anise and szechuan pepper). When the lard is completely liquid pour it gently over the pork, making sure it is fully submerged. Cover with tinfoil, you want to make as airtight seal as is possible, you don’t want any moisture to escape. Place it in the oven and forget about it for 12 hours.


Take two baking dishes (glass or ceramic is ideal), one needs to sit inside the other, Line the bigger of the two with some baking paper, and the bottom of the smaller one with cling film. Remove the dish from the oven, and take off the tin foil, check to see that the meat is indeed cooked and tender. You can now choose to be gung-ho about the whole process and carefully lift out the pork and place it in the larger baking dish, carefully placing the the smaller one on top, weigh it down with a few cans, and wrap the whole thing firmly with some cling film. Or, let it cool a while so the fat sets slightly and the meat is less fragile. Either way, once it’s wrapped, put it in the fridge for 12 hours to press.


Get the oven on and preheating to 200–220ºC. Remove the pork from the fridge and unwrap, remove the top dish with a little caution. Portion up the pork, and keep any offcuts (tasty cooks snack). When the oven is up to temperature, get a heavy based, ovenproof frying pan on to the heat, we want it to be scorching hot. Add a few drops of oil to the pan, place the pork skin side down in the pan, pressing down gently, cook for 1 minute then transfer to the oven for 15–20 minutes. Remove the pan from the oven (don’t forget the handles hot!), and place the pork on a wooden board skin side up, to rest. While the pork rests, steam up some greens, I had some bok choy tossed in soy sauce, fish sauce and sesame seeds.


Portioned.


Out of the oven.


Melt in the mouth crisp skin.

off cut
'Test' piece with scallion and plum sauce (plum juice, spices and xanthan).

Saturday, April 7, 2012

Pork hock cake with pickled rhubarb


It started with a tweet, and I immediately knew I wanted to try pickled rhubarb. It is a foreign idea to me, something I should of heard of, I grew up with rhubarb in the garden and have had it many different ways... ok mainly stewed. So the next visit to the vegetable shop, I made sure to pick up a good bunch of stalks. I sliced them up, and put them in a jar with vinegar, sugar and spices. But now what?

So with a freshly made jar of pickled rhubarb in the fridge, and totally riffing off (not ripping) Chris Cosentino’s tweet of trotter cake, I rang the butcher to set aside some porky feet. No luck, but no matter the pickle wasn’t going to go off, or run away, anytime soon. I stopped off at the supermarket to pick up some essentials, and walking through the chilled meat area, I spotted a decent looking pork hock, not a big one, but big enough to at least try out an idea.

So, pressure cooker time again, but a normal slow cooker, or dutch oven would do the trick, they just take a lot longer. I took the hock and browned it all over, then chucked in a sliced carrot, juniper berries, garlic, salt, pepper, cider vinegar, and quarter of a cup of water. I cooked it on high pressure for 1 hour, and then let the pressure drop naturally. After lifting off the lid, I separated the meat from the bones and set aside. Then strained the liquid and put it back in the cooker with the bones and cooked on high pressure for 15 minutes. While the liquid was cooking for a second time, I pulled apart the meat, letting it tear naturally, not turning it into mush.

After the stock has had its second go at cooking, take a spoonful of it and put it on a plate, and place it in the fridge. After about five minutes, check to see if it has set. If it hasn’t, reduce the cooking liquid by about a third and check again. When the liquid is ready, wet the shredded meat with it, just enough to coat it, you don’t want it swimming in liquid. The leftover cooking liquid is a great stock for soups.


Now the easy part, and totally environmentally friendly, yeah, OK, you’re going to need quite a bit of plastic wrap, but it is easyish. Roll out a good foot and a half of wrap on the bench and spoon the meat out into a rough log shape, use the plastic to roll up the meat, folding up the sides to keep the shape. Use another layer of plastic wrap to re-roll the meat log, tightening it to hold its shape. Put it in the fridge overnight to firm up.


You know, it’s not as simple as take it from the fridge and eat, or even cook and eat, it’s going to go back in the fridge again, but hey, you’ll at least get to eat it on the same day. So take the log and slice off medallions, take each medallion and coat in flour, dip in a beaten egg; water; salt mix, and coat in bread crumbs (panko). Place the coated medallions on to a sheet-pan, and then back into the fridge for at least 30 minutes. Putting it back in the fridge gives the coating a chance to set, and means it won't fall off when cooking.


Remove the pan from the fridge about 10 minutes before you want to cook. Get a heavy based pan on a medium-high heat, with a good coating (5 mm deep) of rice bran oil (or other neutral high smoke point oil), fry the pork cakes 30 seconds per side flipping twice (1 minute per side total), place the cakes on some paper towels to drain.


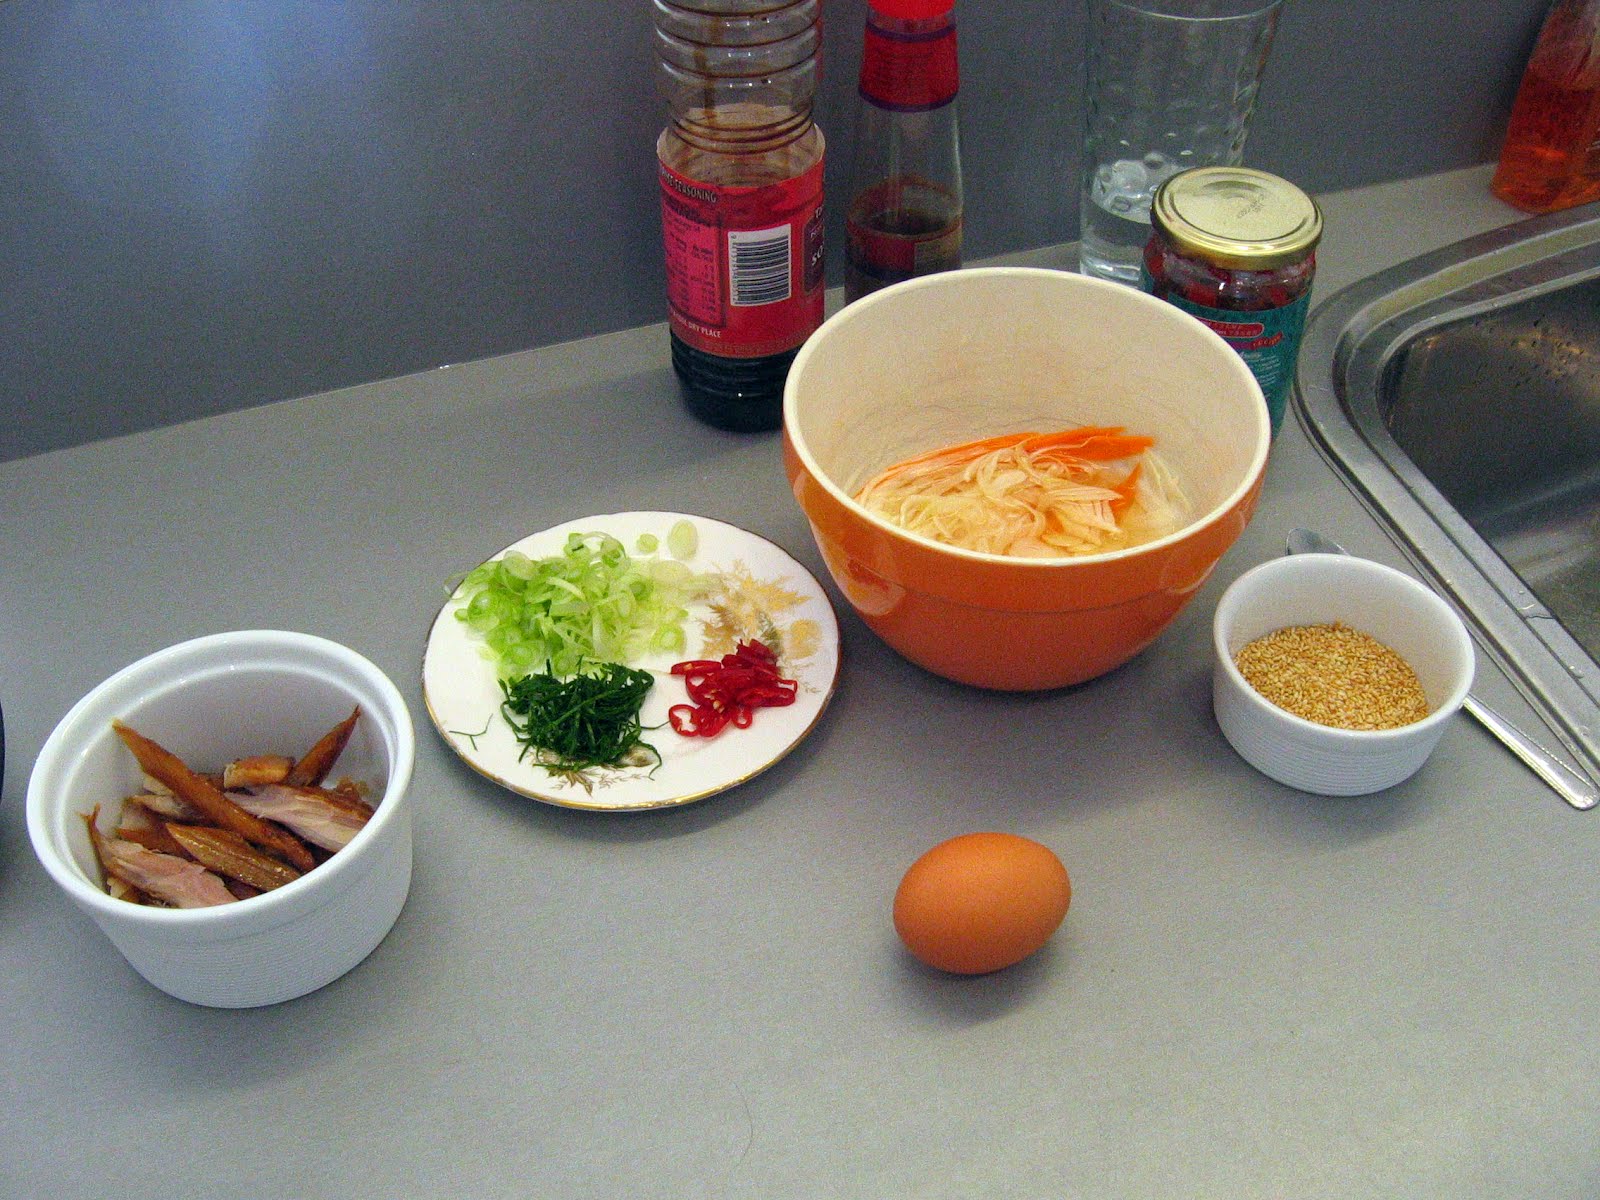
Serve with a nice leafy salad, rocket would be ideal, and some rhubarb pickle.
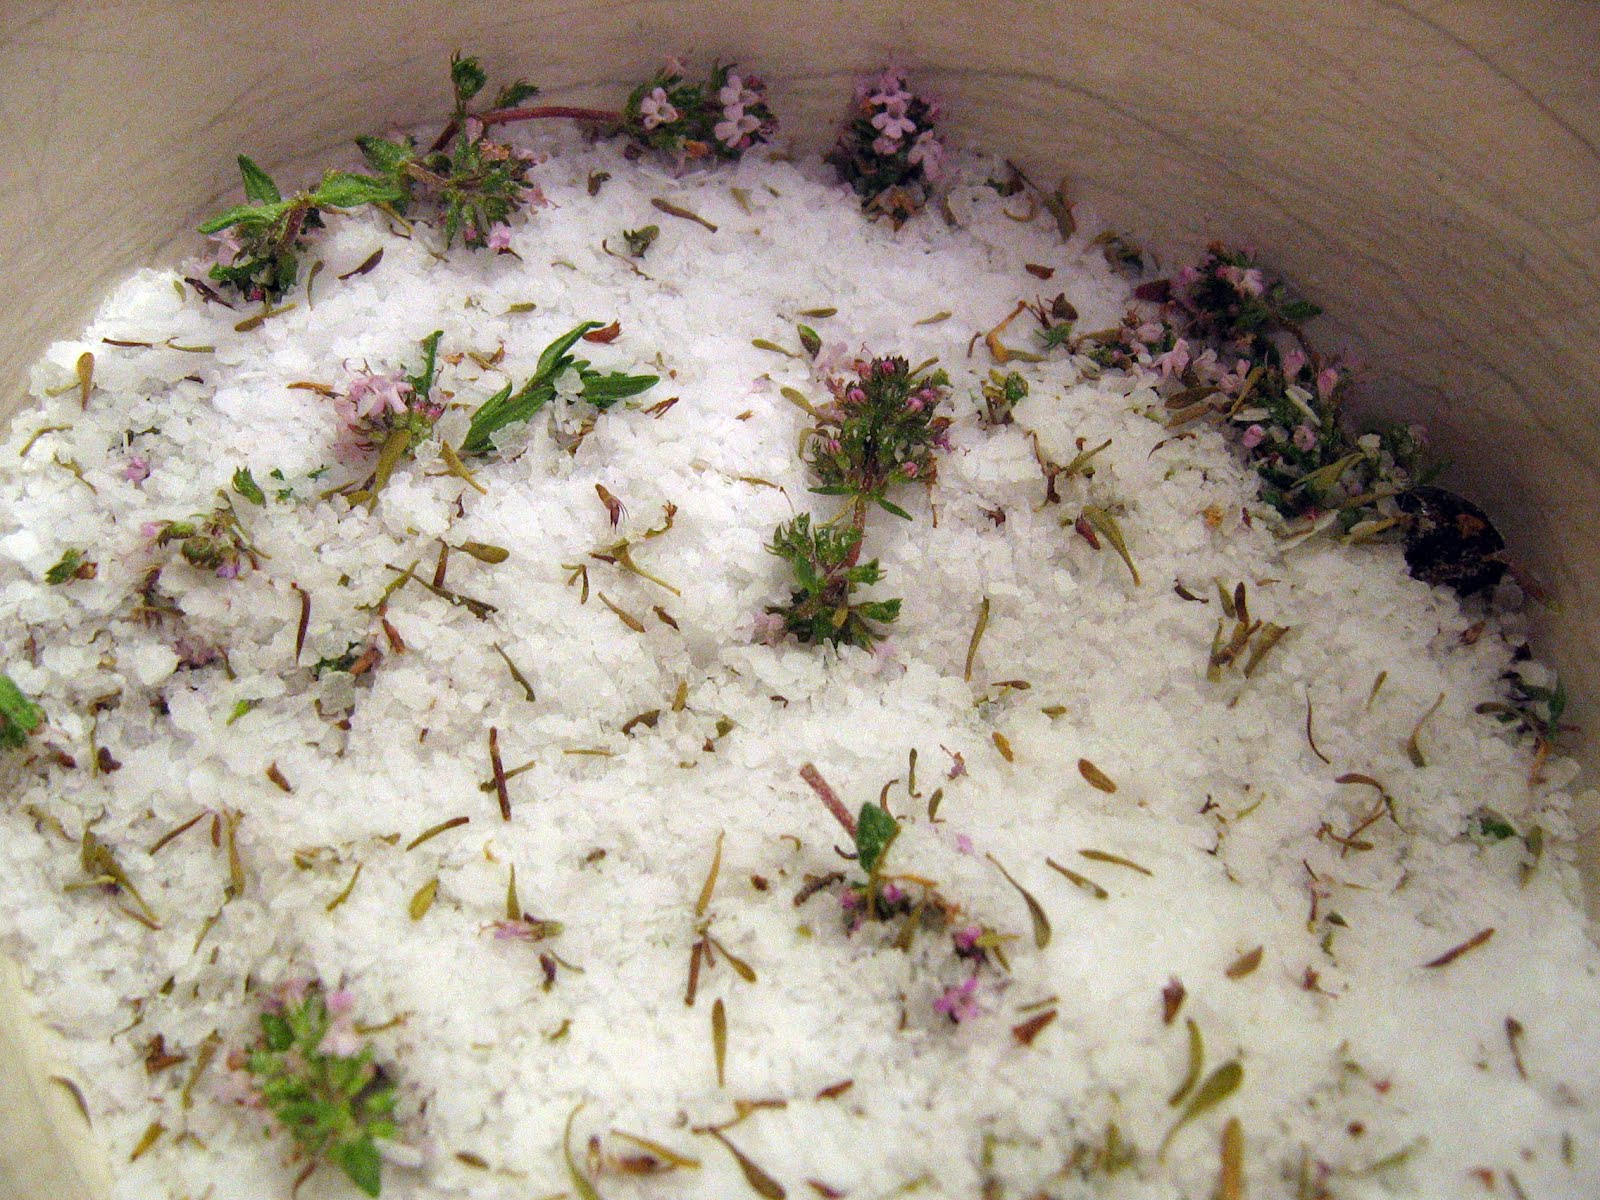

Pickled Rhubarb
Slice up enough rhubarb to fill a jar.

Put a pot on medium heat with 1 cup cider vinegar, 1 cup of brown sugar and some spices (allspice, ginger, cloves and star anise), bring to a simmer. When all of the sugar is dissolved, remove from the heat and pour into the jar, make sure to get all the spices in.


Seal the jar, and let it cool. Store it in the fridge, it should last a month, but it’ll be best for a week after a week of storing.

Tuesday, April 3, 2012

Caramel Corn - aka homemade Cracker Jack


A good movie night just isn’t the same without some form of snack, and nothing really beats buttery salty popcorn... Well almost nothing, Cracker Jacks do, salty caramel covered popped corn studded with roasted peanuts, far too moreish, an I can’t believe I finished the whole bowl, kind of food, but you should indulge now and then. I found this recipe on Brown Eyed Baker, and it’s pretty close to what I remember of the caramel corn in a box with a prize.

I really recommend you roast your own peanuts, so you can control how salty they are, but store bought roasted peanuts are good too.

100 grams of popped corn (about 10 cups popped)
1 cup Brown Sugar
1/4 cup Glucose syrup
85 grams unsalted butter (6 tablespoons), melted
1 cup of roasted lightly salted peanuts
1/4 teaspoon salt
1/2 teaspoon baking soda
2 tablespoons water
2 teaspoons vanilla extract

  1. Preheat Oven to 120ºC.
  2. Pop the corn and put it in a very lightly greased bowl, set aside.
  3. In a small pan whisk together the brown sugar, glucose syrup, butter, salt, and water. Simmer, stirring often, until the mixture reaches 120ºC (firm/hard ball stage)
  4. Remove from the heat, whisk in the vanilla and baking soda.
  5. Using a rubber spatula, fold the caramel into the popcorn until all of popped corn is coated, then stir in the roasted peanuts.
  6. Spread the mixture on to a lined baking tray and bake for 1 hour, stirring every 20 minutes.
  7. Remove from the oven and let it cool on a wire rack for half an hour.
  8. Gently break up the popcorn. It will keep for about 5 days in a airtight container.

Friday, March 30, 2012

Duck Prosciutto - Part 2


Well it took ten days to reach the 30% required weight loss for my home-cured duck breast prosciutto. The recipe said seven days, but it all depends on the temperature and humidity of where it is hung.

An important note about weighing the breasts, which I didn’t mention in part 1. Weigh the breast after you have wrapped and tied it, as well as beforehand. You need to know how much the string and wrapping weighs, as a few grams can make a difference when figuring out the percentage weight loss.

wrapping = before wrapping - after wrapping
current percentage = ((current weight - wrapping ) ÷ before wrapping) x 100
The second equation will give you what percentage the breast is currently at, you’re aiming for 70%.


The breasts will be firm, with a little give, but not squishy, and a lot darker in appearance.

When you’re ready to eat it, trim off the skin, leaving as much fat on as possible, and if you like, slice off any flesh that has dried out too much (I didn’t bother), and slice as thinly as you can, a little time in the fridge may help.

The prosciutto should last a few weeks in the fridge, and a few months in the freezer, even better if you vacuum seal them. If you’re freezing the breasts, take advantage of the frozen state while defrosting to slice it thinly.


The prosciutto, is rich, gamey, and floral from the thyme (due to the cure).

Sunday, March 25, 2012

Mandarin Pancakes


Well it's a lazy Sunday. I've just got my pork cheek on the smoker, after a two week wait as it cured and hung. Hrmm actually it looks like it might be smoking a bit too much, maybe the woods on fire. False alarm. Anyway, after that's done and I've finished writing this post, I'll be relaxing in the sun with a cold beer devouring the latest issue of Lucky Peach. But enough about lazy Sundays and sunshine, on with the post.

Guess what? I was having pork belly again! This time with a tasty Chinese spice rub. The conundrum of it though, was what to have it with. A bit over roast vege and rice, but I wanted some carbs to have with it. After a deep introspection, or rather making myself hungrier by working my way through cookbooks, blogs and magazines, and still at a loss, a little light of inspiration went off. I thought of those pancakes you get with Peking duck, they can’t be hard to make right? I’m pretty sure I’d have all of the ingredients, they can’t be that complicated. I’m not leading up to a ‘but I was wrong’ I promise. After a bit of research on the Internet, and comparing several recipes, I was fairly confident, they were indeed easy to make, and I had everything I needed, a pan, sesame oil, flour, boiling water.


Mix together 2 cups of flour and 1 cup of boiling water, and kneed until it forms a smooth ball. Wrap and rest the dough for 30 minutes.

Roll out the dough to a thickness of a 2mm, then cut out rounds with a cutter, repeat this until all the dough is used. You will need an even number of rounds.

Coat one side of a round with sesame oil using a pastry brush and then place another dough round on top, the sesame oil in the middle. Repeat until all the rounds are sandwiched together.

Roll out each round paper thin, store between a couple of tea-towels so they don't dry out.


In a dry frying pan, cook for 60-90 seconds on each side. And again store the cooked pancakes between a couple of tea-towels.


When all the pancakes have been cooked, pull apart into two pancakes.

Wednesday, March 21, 2012

Spicy potato hash with bok choy


I've made this dish as a brunch, breakfast and dinner, it's versatile, cheap and easy to make. I came across the idea of bok choy and potato hash on Serious Eats, their dish is pretty straight forward, but still looks tasty, I decided it needed a bit of Asian flavour to really pull it together.

Cut a few medium potatoes into 2cm cubes, steam until fork tender, but not falling apart. While the potatoes are steaming, finely dice an onion, crush a clove of garlic, thinly slice a hot chili, mince some pickled chilies, clean a couple head of bok choy and cut off the root end, separating into individual leaves.

Remove the potatoes from the steamer, let them sit on the bench to dry out a bit. Sauté the onion, garlic and sliced chili in a hot pan with a little oil. When the onion begins caramelising, toss in the the potatoes and cook until the they start to brown and crisp up (you may need to add a dash more oil). Splash in a good amount (to taste) of fish sauce, a splash of soy sauce and small amount of vinegar.

Stir through the bok choy leaves, place a lid on the pan and let it cook for a minute or two, give it a stir and cook uncovered for another couple of minutes. Lastly stir through a chiffonade of coriander and parsley. Set aside and fry an egg to your liking, I like sunny side up.


Dish up the hash in a bowl topped with the fried egg, garnished with some of the minced pickled chilies and a drizzle of soy sauce. This is such an easy dish to customise. Got some left over roast chicken? Chuck it in. Maybe a little bit of bacon needs using? Fry it up with the onions. Diced kohlrabi makes a great addition to the potatoes. Sambal oelek is also a great garnish on this.

Wednesday, March 14, 2012

Duck Prosciutto - Part 1


I have been meaning to make duck prosciutto ever since I read about it in Charcuterie: The Craft of Salting, Smoking, and Curing by Michael Ruhlman, Brian Polcyn and Thomas Keller, which I got for Christmas, but it's far to easy to put things off. I was in Moore Wilson on the hunt for a nice slab of pork belly, along with a bit of lard, to make a tasty meal of pork confit, and to stock up on kosher salt as my supply at home was getting dangerously low. Taking my time, as I always seem to do, no need to rush when there are so many goodies to tempt yourself with, I saw a lonely packet of duck breasts in the chiller, it was fate.


The method is very simple, you'll need about 450 grams of kosher salt for two duck breasts (or coarse sea salt, not table salt, or iodised salt), a container to cure them in, some muslin/cheese cloth, white pepper and what ever else you want to cure the duck with.

I did two different cures for each breast, one with thyme flowers and juniper berries, and the other with Szechuan pepper and coriander seeds.


You'll want to start by trimming any excess skin of the breast, but don't go crazy, just trim it so it looks nice, then give it a rinse and pat it dry. Set the breasts aside. In a bowl mix together the salt and herbs/spices. You don't have to add any herbs or spices, you could just use salt.

In container pour a layer of the salt mix about a centimeter deep and lay the duck breast on it (flesh side down, skin side up), then cover with the rest of the salt mix, make sure there is no exposed flesh, if you're doing both breasts in the same container make sure they're not touching each other. Ideally you want to use a container that isn't much larger than the breast(s) so you don't have to waste too much salt.

Tightly cover the container and place in the fridge for twenty-four hours.


Remove the breasts from the salt, they should have firmed up, and deepened in colour slightly.


Thoroughly rinse all of the salt off the breast and dry with paper towels. Weigh the breast, and either take a note of it somewhere or make a label you can tie to it later, it's very important to know the weight at this stage.


Dust each breast with some white pepper, or another spice, I used a combination of white pepper and coriander on the Szechuan and coriander cured breast.


Wrap in a single layer of cheese cloth and tie, make sure to leave enough length to use to hang the breast. It's a good idea to add a label with the date you hung it and the weight.


Hang the breasts somewhere cool (10–15°C) and dry (60% humidity), I've hung mine under the stairs as I know it is a pretty constant 10°C no matter the outside temperature. I've seen some people hang it in their fridge, but I'd be a bit worried about cross contamination of flavours.

There are many different times given all over the internet on how long it will take to be ready, but it all depends on the humidity and temperature of where it's being hung. The best way to check if the duck prosciutto is ready, is to weigh it. When it is at 70% of its start weight, it's ready. I've just checked mine and after five days it's only lost 12%.

Saturday, March 10, 2012

Smoked Mackerel


I've been a bit slack on getting my blog posts done, there's a folder on my computer full of images and ideas ready to be written up and sent into the ether, in fact twenty four sub folders. Just this weekend, well Friday night, I've managed to add another three. I need to put on my blogger cap a little more often. Last night I started an endeavour of duck prosciutto spiced with prickly Szechuan pepper, a cure of pork cheek to be smoked and turned into bacon (a few weeks off, due to curing and hanging), and what my dinner will be tonight, confit of pork cheek cooked for 12 hours at 90°C. But I'm not writing about the porky goodness that always seems to grab my attention on this blog, no for that you'll have to wait. Today it's all about fish, Mackerel to be precise.

These are two easy, sub thirty minute meals, well sub 30 minutes if you own a pressure cooker, and if you don't, go buy one. Firstly congee, I've posted about it before, it's a simple and versatile base for any flavour you wish to add, and it's filling. You could do it traditionally if you wish, but that takes a lot of time, what you need is a pressure cooker, one cup of rice and six cups of water, cook on high pressure for 22 minutes and let the pressure drop naturally, then stir like crazy to get a nice porridge texture.


While the rice is doing it's thing and you're not standing at a stove having to stir and make sure it's not sticking etc, get your accompaniments ready. Smoked mackerel; carrot, garlic, and fennel, all sliced paper thin and pickled in mirin and cider vinegar; toasted sesame seeds; sliced chilli, scallions and herbs; sambal oelek; and to gild the lily, an egg yolk, it's going to be raw so go organic or at least free range.

Spoon out your beaten cooked rice into a bowl and make a small well in the centre for the yolk, garnish with the
accompaniments, drizzle a few drops of sesame oil over and finish with a splash of soy sauce.


If like me, you made the congee for one, chances are there is a bit of left over smoked mackerel in the fridge, but fear not, it wont go to waste, just whip up a quick niçoise inspired salad. It's a bit of a one pot wonder. Get a pot of salted water on to boil, drop in a few new potatoes, cook for about 8 minutes, scoop them out with a slotted spoon and set aside. In the same water drop in a handful of green beans and cook for about 3 minutes, then pluck out and drop into ice water. Again in the recycled water drop in an egg and cook for 5 minutes, then transfer to the ice water. That's the cooking done.

To assemble this quick and tasty lunch, dinner, or large snack, grab a bunch of your favourite herbs, tear, chop or shred. Pit some olives, please don't use jarred pitted olives, they taste awful. Whip up a vinaigrette, I like 2 parts cider vinegar, 3 parts oil, spoon of dijon mustard, salt and a mashed anchovy. Slice the potatoes in half or thirds and then toss all of the ingredients together, sans the egg. Serve, topping each salad with the boiled egg, shelled and cut in half.

Saturday, March 3, 2012

Dosa


It was Shrove Tuesday not too long ago and I had a great and rather obvious idea to have pancakes for dinner (as is the tradition). But I wasn't content with stuffed crêpes, no, I was going to make Dosa (a crispy Indian pancake), not that I had any idea how to make them, or actually what they were made of, so the research began.

I read a lot of recipes, and methods and realised that I wasn't going to be eating Dosa for dinner that night, in fact not the next night either, you have to soak lentils and rice, then grind and ferment them. I came up with what I thought was a good set of quantities from reading multiple recipes, and then I came across a page called The Perfect Dosa Recipe, I didn't end up following the recipe from that site, but it was an invaluable source of information.


In a bowl put one and a half cups of rice and one teaspoon of fenugreek seeds, fill with water and cover. In another bowl place half a cup of urid dal, fill with water and cover. It's important to soak them separately as you want to grind them separately. Leave the rice and dal to soak overnight, or eight hours.


Drain the rice, retaining the soaking liquid. Transfer the rice to a blender and blend until completely smooth, it'll take a while, you may need to add some of the soaking liquid to the blender, but try not to add too much. Once blended pour the puréed rice in to a bowl. Repeat the process with the urid dal and then pour in to the puréed rice.


Add about one teaspoon of salt and mix together with your fingers, it's very important to use your hands (clean) as apparently the warmth of the hands will kick start the fermenting process. Once thoroughly combined cover and leave to ferment overnight.


The mix should have increased in volume and the texture should almost resemble marshmallow.

Now I defer completely to The Perfect Dosa Recipe for the method of cooking them, it looks simple, but I struggled, there were a lot of 'practice' dosa made. The gist of it is, thin the batter down with some water, you need to be able to pour it, but it shouldn't be runny. Then in a hot pan with a few drops of oil in it, ladle in about quarter of a cup of the batter and using the back of the ladle spread it around the pan in a circular motion (the bit I struggled with), and then drizzle a little oil around the edge of the Dosa. Cook until the bottom of the Dosa is golden brown.


I stuffed the Dosa with a aloo masala (dry potato curry) and served with some coconut masala on the side for dipping.